We will explain how to create a simulation image.
- Shooting method
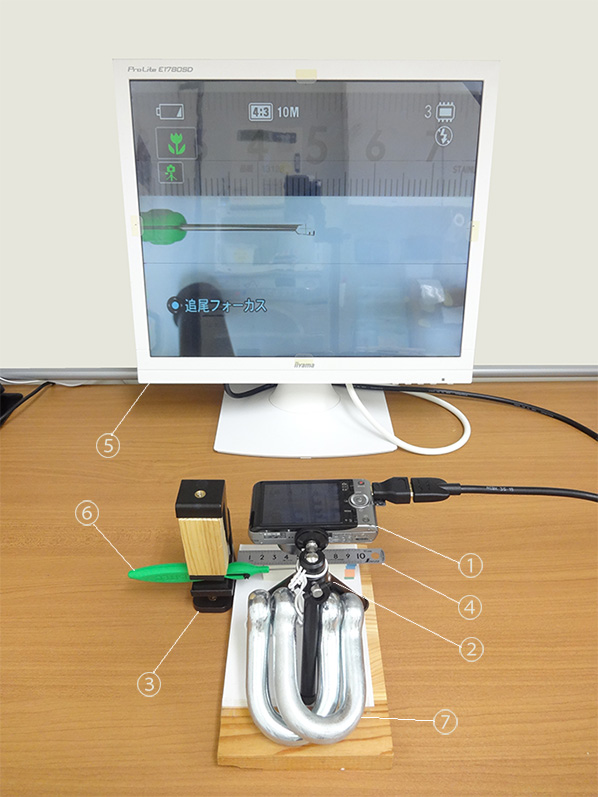
① SONY DSC-WX100
② NAKABAYASHI Digio2 Mini Tripod Standard 180
③ Fixer made by improving the smartphone stand
④ 10 cm long ruler
⑤ Monitor (HDMI connection)
⑥ Equipment for shooting
⑦ Weight
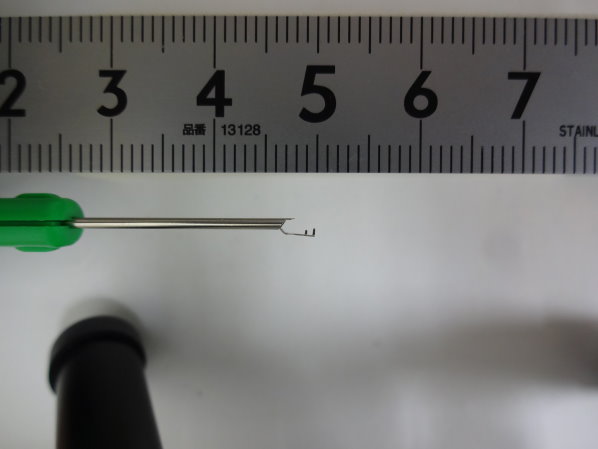
Fix the instrument and point the camera straight down. The weight of the camera causes the whole to tilt forward, so a weight ⑦ is attached to prevent it from tipping over. Place white paper on the background. We used indoor light for lighting. Fix the device so that the tip of the device is in the center of the monitor screen. The focus is basically one point in the center. Place a ruler in the immediate vicinity. Use a piece of wood to make the height of the ruler the same as the height of the tip of the tool. Subtle height adjustments are made by placing a sticky note under the ruler. Check the monitor to see if the instrument is pointing in the correct direction. (The DSC-WX100 has a monitoring-through function, so you can check before shooting. Be careful because many cameras do not have this function.) After setting, press the shutter halfway and shoot when the subject is in focus. .. You can also check the image after shooting by enlarging it on the monitor. The shooting size is 3648 x 2736 pixels.
sample image
- Processing method
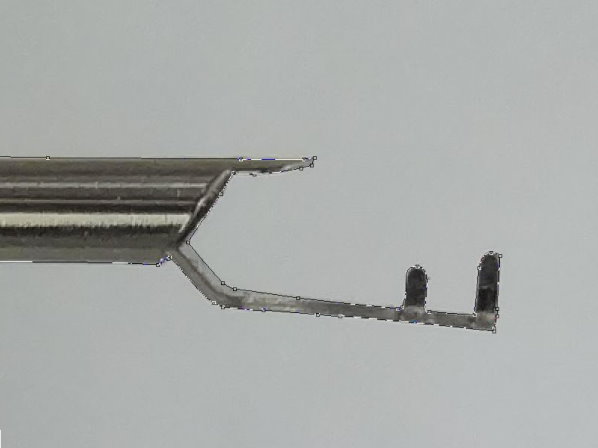
Cut out the ruler by about 5 mm and paste it. Paste the digital scale into this image.
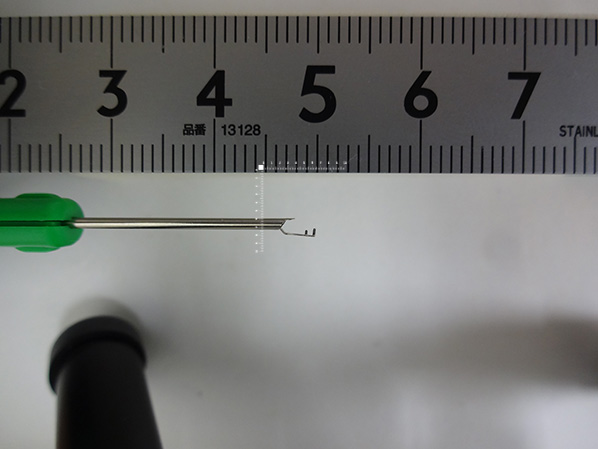
PSD file, 58MB
The digital scale is 0.02 mm per pixel. Select the instrument and ruler at the same time and match the size.
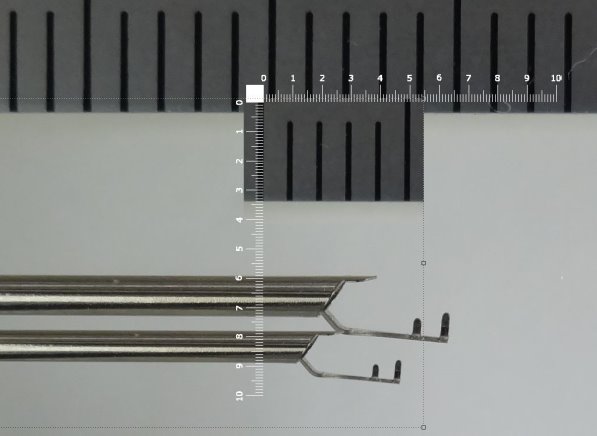
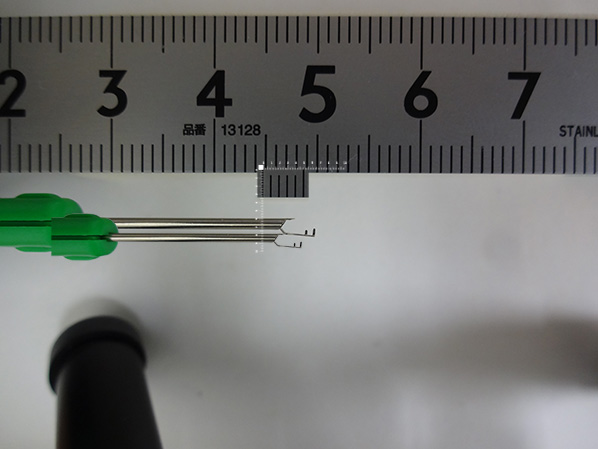
PSD file, 57MB
If the surrounding color is reflected on the metal part, set the saturation to 0. Also, adjust the brightness with level correction.
- About distortion
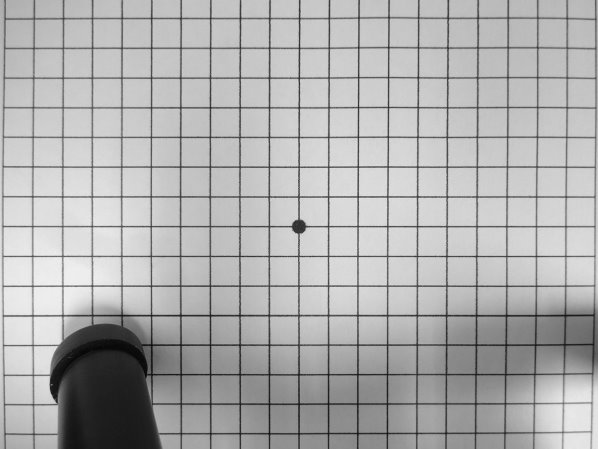
However, since the image is taken from a short distance, the distortion becomes large in the front-back direction (Z).
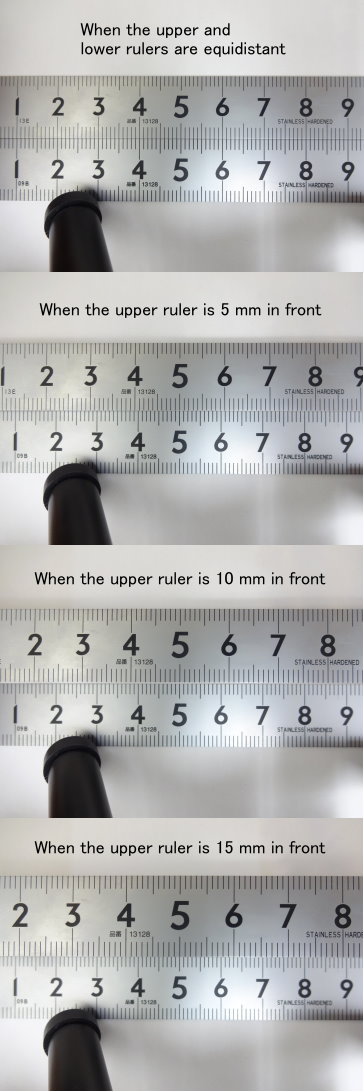
That’s all.Thank you for reading.